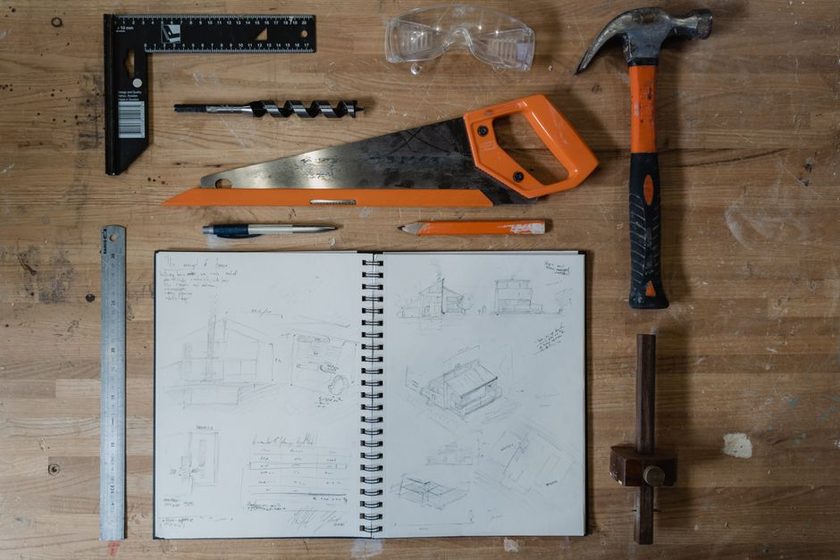
Ask a shop full of builders what saves timber and most will point at technique — a steady hand, a well-tuned saw, years of not flinching at a cut line. That matters, but it is not where the real savings live. Those live earlier, on paper. A carcase side that comes out 4mm narrow because a rip fence drifted is a skill problem, caught fast by a sharp operator. A sheet of plywood that yields four panels when it could have yielded five is a planning problem, and no sawing skill fixes it afterward. The drawing is where that second kind of loss gets prevented.
Two different kinds of waste
It helps to separate waste into two categories usually lumped together. The first is execution waste: a cut that drifts off the line, a joint trimmed twice, a board ruined by tear-out. This is the waste technique addresses, and it is real — a careless pass with a dull blade chews through good stock fast. The second is layout waste: material never going to be used efficiently no matter how cleanly it was cut, because the plan was never made. A panel ripped to width before anyone worked out what else could share that offcut is layout waste, even when every cut was perfect.
The first kind is loud and immediate. Layout waste is quieter — a shortfall at the end of a sheet, or an odd offcut too small for anything, sitting in the scrap bin as if it were always meant to be scrap. Usually it was not.
A cutting error costs one board. A layout that ignores grain-matching, offcut reuse, and cut order can cost a fraction of an entire sheet or board — multiplied across every sheet in the job. The first is a single bad line. The second is a bad decision repeated once per sheet, for the rest of the project.
Where the drawing intervenes
A dimensioned drawing forces every part to be accounted for before the first cut happens. Skipping it feels faster, because cutting a part when you need it beats drawing the whole set first — for that one part. It is slower for the project: later parts get cut against whatever stock is left over, not against a plan that put them there on purpose.
This is close cousin to the discipline in Reading the Cutlist Before You Touch the Saw — a cutlist is the drawing's output, its promise about what each piece should measure. It does not set the cut order, or which parts should share a board because their grain runs the same way. That decision belongs on the drawing, not at the saw.
A nested cutting diagram, worked through
Take a small cabinet needing six parts from 18mm sheet stock — two sides, a top, a bottom, two shelves. Cut without a diagram, pulled one part at a time, each rip takes the full width needed and leaves an irregular remainder. By the third or fourth part the leftover shape no longer cleanly holds the next piece, and a second sheet gets opened — mostly wasted on the two remaining shelves.
Nested first, the same six parts get grouped by width before a single cut is made. The two sides and two shelves share a common width, laid edge to edge in one pass and then cross-cut to length, using the sheet's width instead of repeatedly ripping from full stock. The top and bottom, slightly different in size, get planned into the remaining strip rather than triggering a second sheet. The nesting needs no new technique — the cuts are identical rip-and-crosscut operations either way. It only needs the order decided on paper, where moving a rectangle costs nothing, instead of at the saw, where an unplanned rip is permanent.
"The saw does not know it is wasting material. It only knows the line it was given. Waste is decided upstream of the saw, or it is not decided at all." Shop floor note, Railstile drawing table
What the drawing has to show to work
A drawing that actually prevents this loss needs a few specific things, not just an overall shape:
- True dimensions or a stated scale — guessing proportions reintroduces the error a drawing is meant to remove.
- A marked datum face per part, so grain direction and orientation are decided once, not re-argued at the bench.
- Grouped widths or a nesting sketch for sheet parts, set before the first rip.
- An explicit cut order, especially where one part's offcut becomes the next part's stock.
Reading a comparison, not a rule of thumb
Numbers vary by project, species, and sheet size, so read the table below as a pattern, not a fixed yield to expect: planning order and grouping tends to close the gap between parts cut and stock consumed.
| Approach | Sheets opened | Offcut usable later | Where the loss happens |
|---|---|---|---|
| Cut as needed, no diagram | 2 (second opened late) | Small, irregular pieces | Remainder shape after each rip narrows the next part's options |
| Nested by width, cut order set first | 1, with margin to spare | One rectangular strip, reusable | Minor trim allowance only |
| Nested, but grain direction ignored | 1 | Rectangular but grain-mismatched | Parts fit but read wrong once assembled |
| Nested with reference face marked per part | 1 | Rectangular, grain-consistent | Loss limited to blade kerf and edge trim |
Skill still has a job
None of this makes technique optional. A perfectly nested drawing still needs a cut held to the line, and a wandering rip eats into the next part's margin no matter how well the layout was planned. The two are complementary, not substitutes: the drawing decides what gets cut and in what order; technique decides whether the cut matches the drawing. They meet at tolerance — tight margins between nested parts leave little room for drift, one more reason a plan meant to save timber has to be honest about what the equipment can actually hold, a theme picked up in Tolerance Stacking in Flat-Pack Furniture.
Put another way: the drawing lowers the ceiling on how much material a project could waste before a cut happens. Technique decides how close the result comes to that ceiling. Only one of them fixes with an eraser instead of a fresh board.
This piece describes a general planning habit for shop layout and is not a substitute for species-specific milling guidance or manufacturer cutting instructions. Yields, kerf allowances, and safe cutting practice vary by material, tool, and shop setup.